
Warmup offers various underfloor heating systems‚ and this guide will navigate the installation process. Whether you’re a DIY enthusiast or a professional installer‚ understanding the process is essential. Proper installation ensures efficient and comfortable heating for years to come.
What is Warmup Underfloor Heating?
Warmup underfloor heating systems provide radiant warmth by installing electric cables or mats beneath the floor surface. These systems connect to the main electricity supply and‚ when activated‚ convert electrical energy into heat. This heat is then evenly distributed throughout the room‚ creating a comfortable and consistent temperature. Unlike traditional heating systems‚ underfloor heating eliminates cold spots and warms the room from the ground up.
The heating system is controlled by a thermostat‚ which allows you to precisely set and maintain your desired temperature. Warmup offers a range of thermostats‚ including programmable models that can further enhance energy efficiency. These systems can be installed under various flooring types‚ including tile‚ stone‚ wood‚ and laminate. Warmup systems are designed for both new construction and renovation projects;

Preparation Before Installation
Before installing Warmup underfloor heating‚ proper preparation is crucial. This involves preparing the subfloor and installing insulation. These steps ensure optimal performance and energy efficiency of your heating system;
Subfloor Preparation: Cleaning and Leveling
Prior to any Warmup underfloor heating installation‚ meticulously preparing the subfloor is paramount. Begin by thoroughly cleaning the area‚ removing all traces of dust‚ debris‚ and any existing adhesive residue. A clean surface ensures proper adhesion of the heating mats or cables.
Next‚ assess the levelness of the subfloor. Any significant unevenness can lead to inconsistent heating and potential damage to the system over time. Use a leveling compound to correct any dips or high spots‚ creating a smooth and uniform surface. Allow the leveling compound to fully cure according to the manufacturer’s instructions before proceeding.
A properly prepared subfloor is the foundation for a successful and efficient underfloor heating system‚ contributing to both performance and longevity.
Insulation Installation: Importance and Steps
Installing proper insulation beneath your Warmup underfloor heating is crucial for maximizing efficiency and minimizing heat loss. Without insulation‚ a significant portion of the heat generated will be lost downwards‚ increasing energy consumption and heating costs. Insulation acts as a barrier‚ directing the heat upwards into the room.
The first step is to select the appropriate insulation material‚ such as insulation boards designed for underfloor heating. Cut the boards to size and lay them over the prepared subfloor‚ ensuring a snug fit. Seal any gaps between the boards with appropriate tape to prevent heat leakage.
By investing in quality insulation‚ you’ll enhance the performance of your Warmup system and enjoy a warmer‚ more energy-efficient home.
Installation Process
The installation involves securing the mats or cables according to the manual. Then connect the system to the thermostat and electrical supply. Testing before flooring is essential for optimal performance.
Securing Mats or Cables: Following the Manual
Once the subfloor is prepped and insulation is installed‚ the next crucial step involves properly securing the Warmup heating mats or cables. Always consult the specific installation manual included with your Warmup system‚ as instructions can vary slightly depending on the product.
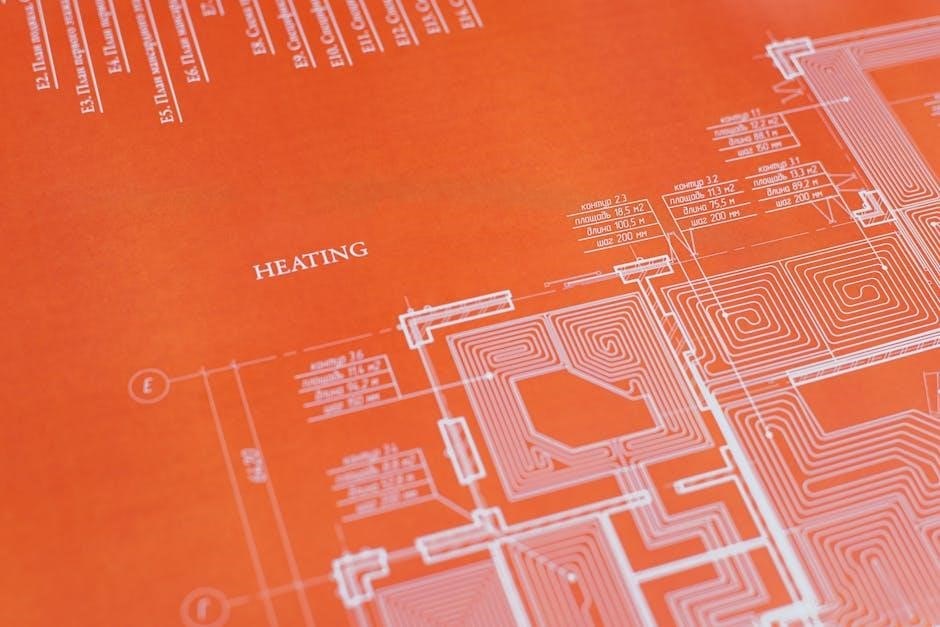
Carefully unroll and position the mats or cables according to your floor plan‚ ensuring even coverage and avoiding areas where fixtures will be placed. Use appropriate adhesive or fixing methods‚ as specified in the manual‚ to secure the heating elements to the subfloor. Take extra care not to damage the heating wires during this process. Maintain consistent spacing and follow any specific guidelines regarding corners or obstacles. Proper adherence to the manual’s instructions is vital for optimal heating performance and system longevity.
Connecting to Thermostat and Electrical Supply
After securing the mats or cables‚ the next crucial step is connecting the Warmup system to both the thermostat and the electrical supply. This task must be performed by a qualified electrician to ensure safety and compliance with local regulations.
The electrician will connect the heating elements to the thermostat‚ following the wiring diagram provided in the installation manual. The thermostat‚ which should be installed according to its own specific instructions‚ allows you to control the temperature and schedule of your underfloor heating. The electrical supply must be a dedicated circuit protected by a Residual Current Device (RCD) or Residual Current Breaker with Overload protection (RCBO) for safety. A professional electrician will ensure all connections are secure and properly grounded before energizing the system.

Post-Installation
Following the Warmup underfloor heating system’s installation‚ testing is vital before applying the final flooring. This ensures proper functionality and prevents issues later. The final step involves installing your chosen floor finish.
Testing the System Before Flooring
Prior to installing the final floor covering‚ rigorously testing your Warmup underfloor heating system is critical. This step helps to identify and rectify any potential issues early on‚ avoiding costly and disruptive repairs later. Consult the installation manual for specific testing procedures relevant to your Warmup system model.
The testing process typically involves checking the resistance of the heating cables or mats to ensure they fall within the manufacturer’s specified range. Use a multimeter to measure the resistance and compare it to the values provided in the technical specifications. Document your findings for future reference.
Additionally‚ activate the system and monitor its heat output across the entire floor area. Look for any cold spots or uneven heating patterns‚ which may indicate damaged cables or improper installation. If any discrepancies are detected‚ immediately disconnect the system and troubleshoot the issue before proceeding. Contact Warmup support or a certified installer for assistance if needed. This thorough testing phase is an essential safeguard to guarantee optimal performance and longevity of your underfloor heating system.
Installing the Final Floor Finish
After successfully testing the Warmup underfloor heating system‚ you can proceed with installing the final floor finish. Selecting the appropriate flooring material is crucial for optimal heat transfer and system performance. Ensure the chosen flooring is compatible with underfloor heating‚ checking the manufacturer’s specifications for maximum temperature limits and thermal resistance.
Follow the flooring manufacturer’s instructions meticulously for installation‚ paying close attention to adhesive recommendations and expansion joint requirements. Avoid using excessively thick or insulating underlays‚ as they can impede heat flow. When working with tile or stone‚ use a flexible adhesive and grout to accommodate thermal expansion and contraction.
After the floor finish is installed‚ allow the adhesive or grout to fully cure according to the manufacturer’s guidelines before activating the heating system. Gradually increase the temperature over several days to prevent thermal shock and potential damage to the flooring. Regularly inspect the floor for any signs of cracking or warping‚ and address any issues promptly; Proper installation and careful monitoring will ensure a beautiful and functional floor finish that complements your Warmup system perfectly.
Warmup Thermostats
Warmup offers a range of thermostats designed to optimize your underfloor heating system. These thermostats allow for precise temperature control and energy-efficient operation. They are essential for maximizing comfort and minimizing heating costs.
Thermostat Installation: Guidelines
Installing a Warmup thermostat requires careful attention to detail and adherence to safety guidelines. Always disconnect the power supply before commencing any electrical work. The thermostat should be installed by a qualified electrician‚ ensuring compliance with local regulations. It requires a permanent 230V AC supply from a 30mA RCD or RCBO-protected circuit.
The thermostat’s location is crucial for accurate temperature sensing; avoid direct sunlight or areas with drafts; The floor sensor should be positioned centrally between two heating cables‚ ensuring it’s properly embedded in the floor. Follow the manufacturer’s instructions for wiring and configuration. Once installed‚ test the thermostat to confirm proper functionality and temperature readings. Remember to consult the Warmup installation manual for specific guidance related to your thermostat model. Always prioritize safety and accuracy during installation.
Programming for Efficiency
Warmup thermostats offer advanced programming features to optimize energy consumption and enhance comfort. Understanding these settings is crucial for achieving maximum efficiency. Utilize the thermostat’s scheduling capabilities to align heating times with your daily routine. Set different temperatures for various times of the day‚ reducing energy waste when the space is unoccupied.
Explore features like adaptive learning‚ which allows the thermostat to learn your heating patterns and adjust accordingly. Take advantage of holiday or vacation modes to minimize energy usage during extended absences. Regularly review your programming settings and adjust them as needed to accommodate changes in your lifestyle or weather conditions. By effectively programming your Warmup thermostat‚ you can significantly reduce heating costs while maintaining a comfortable environment. Consult the user manual for detailed instructions on programming your specific thermostat model.

Troubleshooting and Support
Warmup provides comprehensive support for their underfloor heating systems. Access installation manuals‚ technical sheets‚ and troubleshooting guides for assistance. The Warmup Pro installer community offers additional support and expertise for installers.
Installation Manuals and Technical Sheets
Warmup provides comprehensive documentation to ensure a smooth and successful underfloor heating installation. Every Warmup product is accompanied by easy-to-read installation manuals and technical specification sheets. These resources offer in-depth guidance for addressing common installation queries‚ providing troubleshooting advice‚ and exploring any additional components required for your specific installation.
The installation manuals cover everything from pre-installation preparations to post-installation care‚ ensuring that you get the job done right the first time. Whether you’re a seasoned DIY enthusiast or a first-time installer‚ these guides are designed to be user-friendly and informative. The technical specification sheets provide detailed information about the product’s performance and compatibility. Refer to these resources for any questions that may arise during the installation process.
Warmup Pro: Installer Support Community
Warmup Pro is a dedicated community designed to support underfloor heating installers. It offers bespoke services and fosters collaboration among professionals. As a member of Warmup Pro‚ installers gain access to exclusive resources‚ technical support‚ and a network of experienced peers. This community provides a platform to share knowledge‚ troubleshoot challenges‚ and stay updated on the latest industry trends and Warmup product innovations.
Whether you’re a seasoned installer or new to Warmup systems‚ Warmup Pro offers valuable support to enhance your expertise and efficiency. Members receive priority assistance‚ access to training materials‚ and opportunities to participate in exclusive events. Joining Warmup Pro demonstrates a commitment to quality and professionalism in underfloor heating installation.
Heat-Up Times and Efficiency
Understanding heat-up times and efficiency is crucial for optimal underfloor heating performance. Several factors influence how quickly your floor warms up and how efficiently the system operates‚ impacting energy consumption.
Factors Affecting Heat-Up Time
Several key elements influence the speed at which your Warmup underfloor heating system raises the floor temperature. Flooring type plays a significant role; for example‚ tile and stone conduct heat faster than wood or carpet. The subfloor material and its insulation levels also affect heat transfer efficiency. Room insulation is paramount; well-insulated rooms retain heat better‚ leading to quicker heat-up times.
System wattage per square meter determines the heating power; higher wattage delivers faster warming. The initial floor temperature matters‚ as warming from a colder starting point naturally takes longer. Thermostat settings and programming‚ including anticipatory start features‚ can optimize heat-up times based on usage patterns.
Improving Efficiency with Insulation and Thermostats
Maximizing the efficiency of your Warmup underfloor heating involves strategic use of insulation and intelligent thermostat programming. Proper insulation beneath the heating system minimizes downward heat loss‚ directing warmth upwards into the room. This reduces energy consumption and accelerates heat-up times.
Warmup’s thermostats offer advanced control‚ allowing precise temperature settings and scheduled heating periods. Programming the thermostat to match your daily routine ensures that the system operates only when needed‚ preventing unnecessary energy waste. Features like adaptive learning can further optimize energy use by predicting heat-up times based on historical data. Combining effective insulation with smart thermostat control yields significant energy savings and enhanced comfort.